

Embarking on a DIY project to create your own custom T-shirts can be an exhilarating experience. The process of screen printing on transfer paper unlocks a world of creativity, allowing you to produce vibrant, professional-quality designs from the comfort of your home or studio. This technique blends traditional screen printing methods with modern transfer technology, providing a unique way to apply intricate graphics onto fabric.
Whether you're a hobbyist looking to personalize your wardrobe or a small business owner aiming to produce bespoke merchandise, mastering how to screen print on transfer paper is a valuable skill. It offers the flexibility to experiment with different designs and colors, while ensuring your prints are durable and long-lasting.
As we delve deeper into this guide, we will explore the necessary tools, materials, and step-by-step instructions to get you started. You will learn the nuances of preparing your artwork, setting up your screen, and the printing process itself. With our expert tips and tricks, you'll be able to avoid common pitfalls and achieve results that stand up to the professional market.
Ready to begin your screen printing journey? Order your premium DTF transfers now and elevate your T-shirt game with our high-quality, vibrant prints that are both durable and long-lasting. Perfect for businesses, events, or simply expressing your personal style, our transfers provide an exceptional canvas for your creativity.
Understanding the Basics of Screen Printing

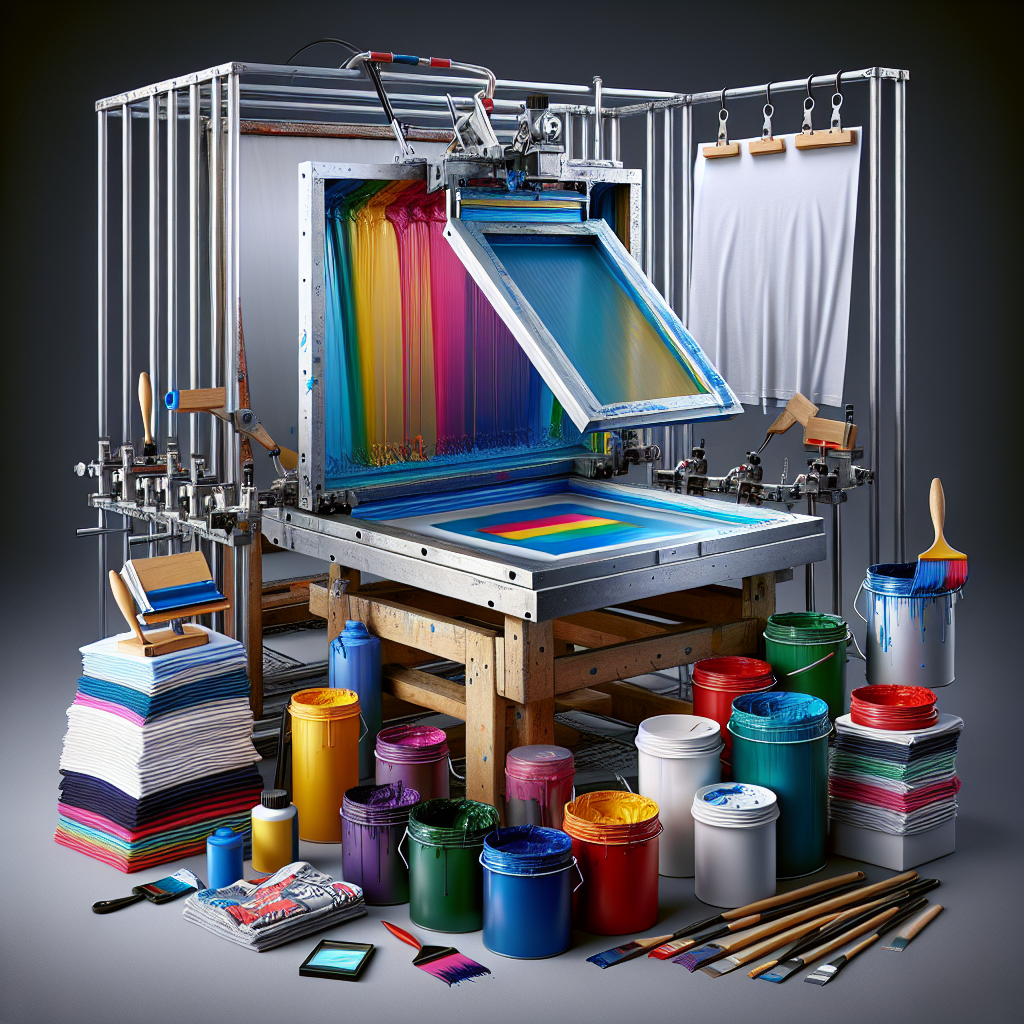
Screen printing is an art form that has stood the test of time, cherished for its versatility and rich history. At its core, screen printing involves pushing ink through a mesh stencil, or screen, onto a substrate, which in the context of DIY fashion, is often a T-shirt. Each screen is applied layer by layer, with a different screen for each color in the design, resulting in a vibrant, multi-hued image that can boast an impressive level of detail and texture.
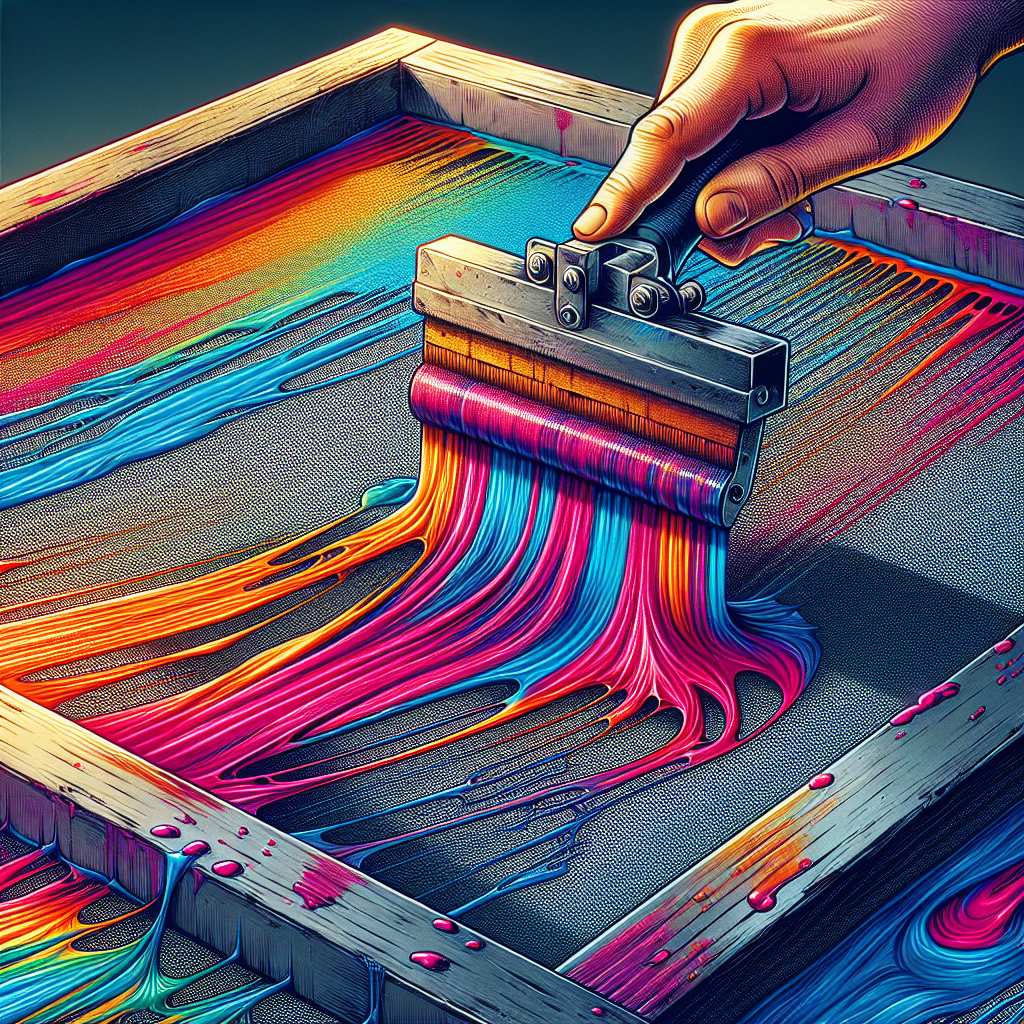
The process begins with your artwork, which needs to be separated into different layers based on color. These layers are then used to create screens, with one screen per color. The ink is applied to the screen, and a squeegee is used to press the ink through the mesh and onto the transfer paper. After the design is printed, the transfer paper serves as a carrier for your design until it's ready to be applied to the final product.
Understanding the basics of screen printing is crucial for achieving the desired outcome. Factors such as the type of ink, the mesh count of the screen, and the timing of the squeegee stroke all play pivotal roles in the quality of the print. Additionally, knowing how to properly cure the ink will ensure it sets correctly, ensuring the design's longevity and resilience to washing and wear.
While screen printing on fabric is direct, the use of transfer paper adds an additional step but also provides a distinct advantage. It allows for more precise placement of the design and can make the printing of multiple items faster and more consistent. This is particularly beneficial when working with complex designs or when producing a high volume of shirts.
Choosing the Right Transfer Paper for Screen Printing
When embarking on a screen printing project, selecting the right transfer paper is pivotal to the success of your final product. Transfer papers come in various types, each with their own set of characteristics and compatibility with different inks and fabrics. Generally, there are two main types of transfer paper: heat transfer and waterslide transfer, both serving unique purposes and applications.
Heat transfer paper is commonly used in screen printing for its durability and ease of use. It's suitable for both light and dark fabrics, and it comes in two varieties: one for inkjet printers and one for laser printers. The choice between these depends on the type of printer you have access to and the kind of ink you plan to use.
On the other hand, waterslide transfer paper is thinner and more delicate, allowing for a near-seamless integration onto the substrate. This type of paper is excellent for projects that require a high level of detail and a hand-painted look. However, it is more suitable for non-fabric items like ceramics, wood, or metal.
When choosing transfer paper, it's essential to consider the fabric of your T-shirts. Cotton and cotton blends work well with most transfer papers, but if you're working with synthetic materials, look for a specialized paper designed to handle the heat sensitivity and texture of these fabrics.
Ultimately, the quality of the transfer paper will significantly impact the vibrancy, durability, and feel of the print on the T-shirt. High-quality transfer paper will ensure that your designs transfer cleanly and last long, even after multiple washes. It’s worth investing in a premium-grade paper that will give your screen-printed T-shirts a professional finish.
Step-by-Step Process of Screen Printing on Transfer Paper
The process of screen printing on transfer paper involves a series of steps that require attention to detail and precision. Here's a step-by-step guide to ensure you achieve the best results:
- Begin by preparing your artwork. Ensure that your design is high-resolution and reverse it using graphic software because it will be transferred in the opposite orientation.
- Choose the correct screen mesh. A higher mesh count is ideal for detailed designs and finer prints.
- Proceed to coat your screen with a thin layer of photosensitive emulsion and let it dry in a dark room. This step is crucial for creating a stencil of your design.
- Once the screen is dry, expose it to a strong light source with your artwork positioned on top. The light hardens the emulsion that isn't covered by your design, which will later be washed away.
- After exposure, rinse the screen with water to reveal your stencil. Let it dry completely.
- Align the screen on top of your chosen transfer paper and secure it in place. Apply the ink across the screen with a squeegee, ensuring even coverage over the design.
- Once the design is printed, carefully remove the screen and allow the transfer paper to dry. Heat setting may be required depending on the type of ink and transfer paper used.
- After the print has dried, you're ready to transfer the design onto your T-shirt. Place the paper on the shirt with the design facing down and press it using a heat press according to the transfer paper's specifications.
- Finally, peel away the transfer paper to unveil your screen-printed design on the T-shirt.
Each step in this process is integral to achieving a professional and high-quality print. Be sure to follow the specific instructions provided with your screen printing materials and transfer paper for the best outcomes. With practice, this technique can become a go-to method for creating custom apparel with sharp detail and rich color.
Essential Tips for Successful Screen Printing
Screen printing on transfer paper is as much an art as it is a science. To ensure that your screen printing efforts yield the highest quality results, consider these essential tips:
- Test your design on a piece of paper before printing on the transfer paper. This helps you spot potential issues with your screen or design.
- Always use high-quality transfer paper that is suitable for screen printing. This can significantly affect the vibrancy and durability of the end product.
- Maintain an even pressure while using the squeegee to spread the ink. Uneven pressure can lead to blurry or inconsistent prints.
- Ensure proper off-contact between the screen and the transfer paper, which allows for a cleaner print and easier separation after the ink application.
- Cure the ink correctly. Different inks have different curing times and temperatures. Follow the manufacturer's instructions to avoid under or over-curing, which can compromise the print's durability.
- Keep your workspace clean to avoid accidental smudging or dust particles ruining your prints. Cleanliness is crucial in screen printing.
- Practice good screen care. Clean your screens thoroughly after each use to extend their lifespan and ensure crisp prints for future projects.
By adhering to these tips, you can improve the quality of your screen prints on transfer paper. Remember, patience and practice are key to mastering the screen printing technique. With each project, you'll gain more knowledge and skill, enabling you to produce professional-grade custom T-shirts and other apparel that stand out for their quality and design.
Troubleshooting Common Screen Printing Issues

Even with the best preparation, screen printing on transfer paper can present some challenges. When you encounter issues, it's crucial to know how to troubleshoot to keep your project on track. Here are common hurdles and how to overcome them:
- Ink bleeding: This can occur when the ink is too thin or the squeegee pressure is too high. To fix it, adjust the ink consistency and use a firmer squeegee stroke.
- Uneven ink coverage: Causes may include an uneven screen, incorrect squeegee angle, or inconsistent pressure. Ensure your screen is level and apply even pressure throughout the print.
- Image ghosting: After multiple prints, your design may leave a faint image on subsequent prints. Increase the off-contact distance and ensure your screen is cleaned properly between prints.
- Screen clogging: If ink starts to dry in the mesh, it can block the design. Keep the screen flooded with ink between prints, and if clogging occurs, clean the screen immediately.
Remember, each problem has a solution, and with persistence, you can achieve the desired outcomes. If these tips don't resolve the issues, don't hesitate to seek further assistance from screen printing forums or instructional videos.
Ready to take your custom apparel to the next level? Explore our vibrant, durable, and easy-to-apply DTF transfers at thetshirtarmy.com" target="_blank">thetshirtarmy.com. Whether for business, events, or personal projects, our fast turnaround and unlimited design options help you create standout T-shirts with ease. Order now and elevate your T-shirt game with our premium DTF transfers!